Maybe you’ve just heard of Italki and are wondering how to use Italki. Or maybe you’ve already taken a look at it but need some help navigating through all the options.
Whatever your struggle is, in this post you’ll find a step-by-step guide to using the Italki platform effectively!
This post contains affiliate links. When you purchase through one of my links I get a small commission (at no extra cost to you). Read more in my Disclosure Policy.
What exactly is Italki?
In short, Italki is an online platform that connects teachers and students for any language. As a student, you can browse through all the teachers that offer to teach you a language through one-on-one tutoring.
In my opinion, it’s a very easy way to learn how to speak a language and get one-on-one feedback on how you’re doing. Plus, it’s not even expensive!
How to use Italki effectively
The choice of teachers and functionalities on the Italki platform might overwhelm you. Luckily, there’s a way to approach choosing a teacher strategically!
If you follow all the steps below, you might as well end up with the teacher you need!
Step 1: determine your goal
Depending on what your language goals are you need a different teacher. Are you a complete beginner? Then you should look for someone who teaches the basics. Are you an advanced learner? Then you might need to look for someone who can give you more advanced classes.
Ask yourself where you are on your language journey and where you want to be after X amount of classes. Do you want to speak the language? Do you want to improve your writing skills? Do you want to pass a certain language exam? What language level do you want to reach?
All of this is important when looking for the right teacher!
Step 2: determine your budget
Different teachers charge different prices for their classes. The budget that you have at your disposal will determine what kind of teacher is best for you. Of course, your budget should be in alignment with your goals.
If your goal is very specific such as a test preparation you might need a larger budget than if you just want to practice general conversations. Because a professional teacher will be more expensive than a community tutor.
Step 3: choose between a professional teacher and a community tutor
On Italki you can find two types of teachers. Professional teachers have an educational background in linguistics and teaching while community tutors are just native/C2 level speakers that provide more conversational classes.
As professional teachers have more experience, they can also charge higher fees for their classes but they can also provide more specialized preparation for certain exams for example. Community tutors provide more general and conversational lessons.
Depending on your goal and budget, you’ll want to choose one of both. If you just want to practice on a casual basis, a community tutor will be fine. However, if you need help with studying for a specific language exam, you might want to go for a professional teacher.
Step 3: filter on native speakers
Not all tutors are native speakers. Although all tutors are required to have at least a level C2 in the language that they teach, I personally prefer to select only native speakers as they still have the best feeling of their language.
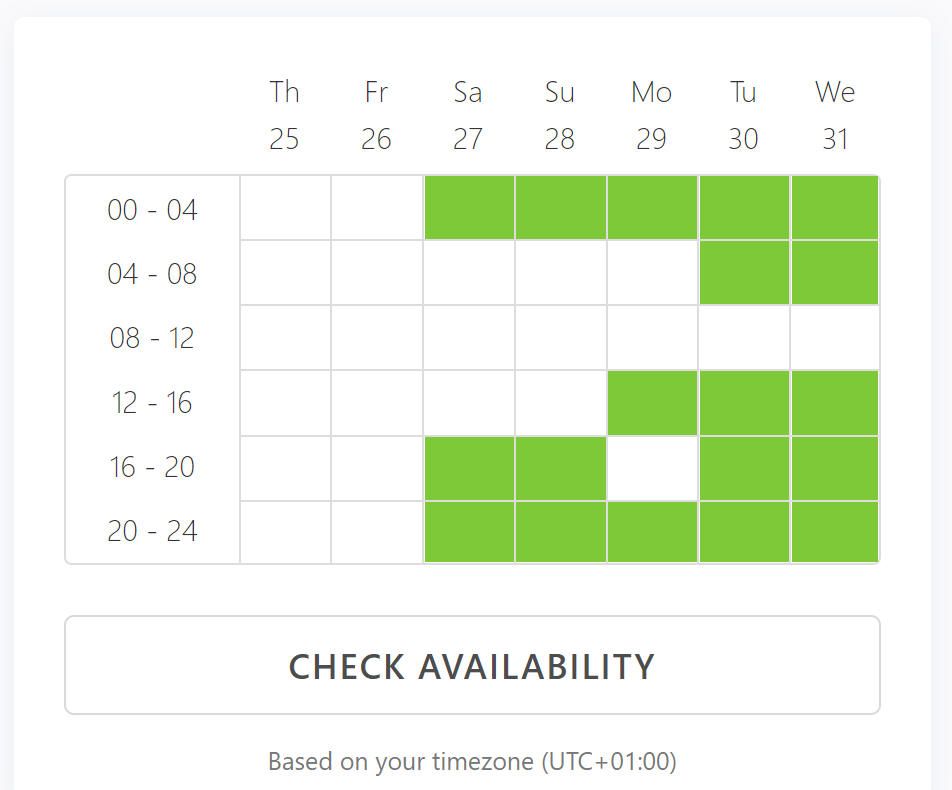
Step 4: use other filters if necessary

According to your preferences, there are many other filters you can use such as other languages that the teacher should speak, the country the teacher should be from, availability, the type of classes you want to take and whether they provide instant booking.
I highly recommend using these filters to narrow down your search and to make your choice easier!
Step 6: look at the teacher profile, ratings & reviews
Once you have a selection of teachers that correspond to your preferences, it’s time to take a look at a few of them in more detail.
A great way to see whether a teacher is a good fit is by reading their teacher profile as well as the reviews of other students. These should tell you what type of class the teacher provides and what others think about it!
Have a careful look at multiple teachers and pick one or two you have a good feeling with.
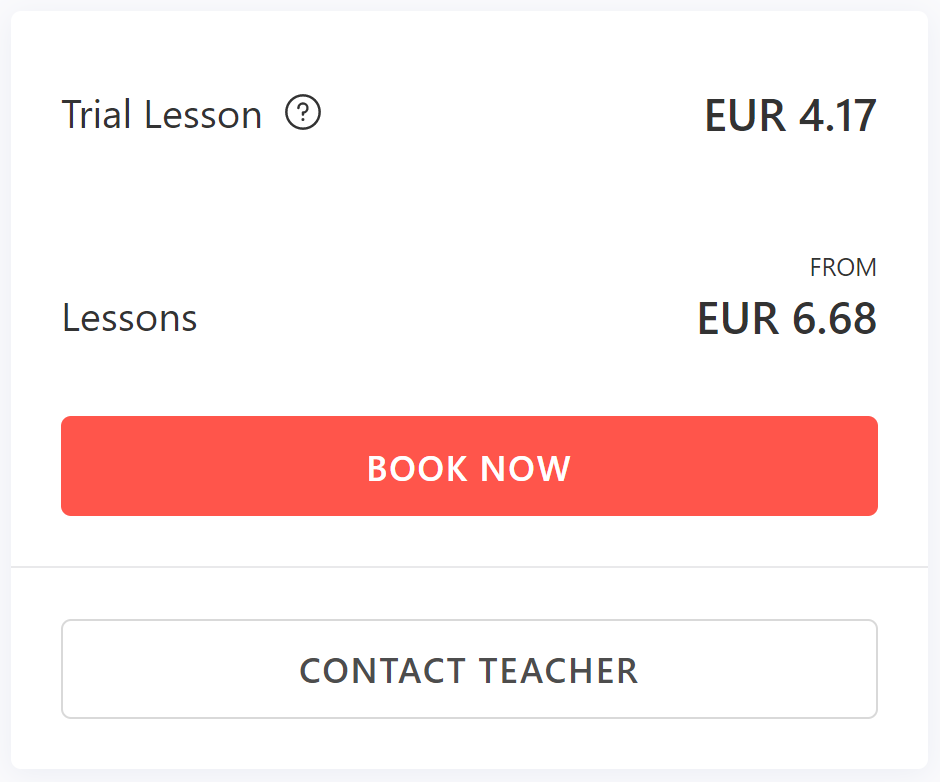
Step 7: book trial lessons
Now that you’ve picked out some teachers, it’s time to schedule a trial lesson!
Italki allows you to take 3 trial lessons at a discount so you can find the teacher that best fits your needs. These trial classes are generally thirty minutes long and should give you a good idea of how further learning with that teacher looks like.
I encourage you to make use of these 3 trial classes and try out different teachers!
Step 8: inform the teacher
After you’ve scheduled a trial lesson, fill in the contact form of the teacher and let him or her know a bit more about you, your language level and your goals.
This allows the teacher to prepare for your class and have an idea of how they could help you before the class starts. Of course, if you have any other questions, this is the time to pose them! (Or before you schedule your trial lesson of course.)
Step 9: plan multiple classes in advance
Once you’ve had your trial classes and found a good match, there’s one more point of advice I want to give you.
Schedule multiple classes in advance!
Good teachers are quickly fully booked so scheduling multiple classes in advance can make sure that you can still have your preferred time and date.
Also, many teachers offer discounts if you buy several lessons at once so this could be a great way to economize on the price!
That’s it!
If you still have questions about Italki after these 9 steps, take a look at the FAQ below or read my Italki review where I look at the pros and cons, as well as other frequently asked questions!
FAQ
How do the calls work?
Once it’s time for your class to begin there are two options. Either you agree with the teacher to use Skype or you use the online room on the Italki platform itself.
I’ve tried Italki’s online classroom myself and quite like it. You can also use the chat to send any documents or messages during your class.
Why is Italki so cheap?
Italki is cheap because of the diversity of teachers on the platform. Professional and experienced teaches will charge a higher price but unexperienced community tutors without a professional background in teaching can charge less.
This also depends on the teacher’s location. Living expenses on the other side of the world might be cheaper or more expensive than in your country.
What are the payment options?
On Italki there are two options to buy classes. First, you can just buy classes one-by-one (or in bulk) and pay by bank transfer, debit/credit card, through Paypal or Skrill.
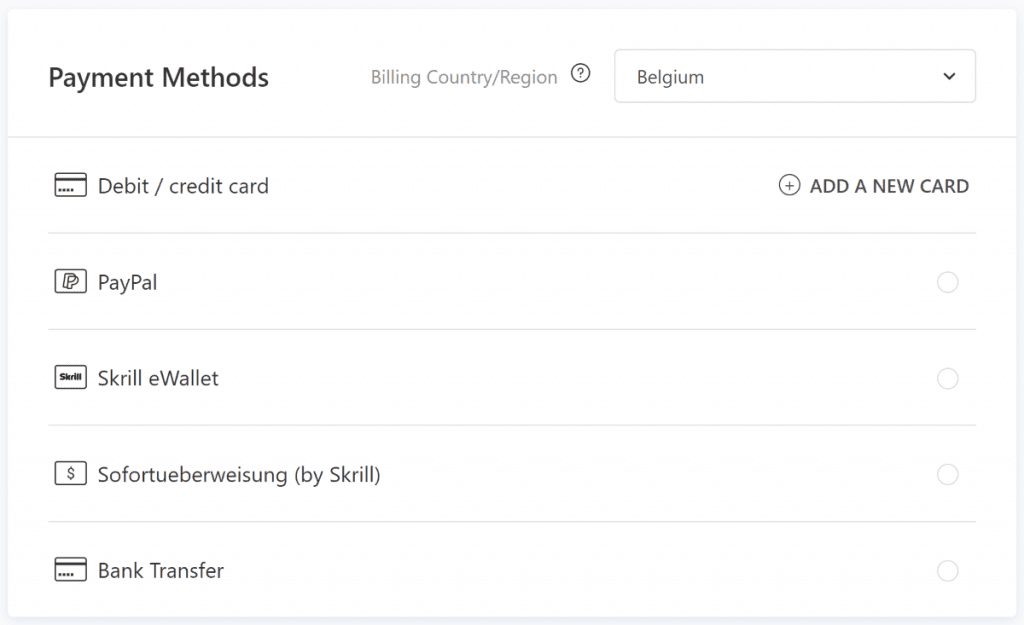
Second, Italki has also developed their own Italki credits, a virtual currency that you can first buy and then use to follow classes. However, it is not mandatory to buy them as you can also directly pay for classes. But if you have a volatile currency compared to the US Dollar, it might be worthwhile to buy the credits and lock in the price of your classes.